Field Toolkit
These tools provide reliable starting points, not final verdicts. After calculating, always check the histogram, zoom in to review, and fine-tune based on subject speed, output size, and your personal handholding stability.
ND Long-Exposure Calculator
Meter without an ND filter first, then enter the base shutter speed and the filter's stops of reduction. The calculated result assumes aperture, ISO, and scene illumination remain unchanged.
New shutter speed: approx. 8.2 seconds
The calculation is:
For example, if the exposure without a filter is 1/125 s, a 10-stop ND will extend the shutter speed to approximately 8 seconds, not 30 seconds. Reaching 30 seconds requires roughly 12 stops of reduction, or further adjustments to aperture and ISO.
Hyperfocal Distance Estimator
Select the format, focal length, and aperture, and the tool will calculate the hyperfocal distance along with the near limit of sharpness when focused there. "Sharpness" here follows traditional circle of confusion standards; for high-resolution sensors, large prints, or close viewing distances, leave a margin rather than treating the boundary as absolutely sharp.
Hyperfocal distance approx. 5.14 m; near limit approx. 2.57 m
Depth of Field Estimator
Enter the format, focal length, aperture, and focus distance, and the tool will calculate the near limit, far limit, and total depth of field. It uses the same circle of confusion standard as the hyperfocal calculation, offering an estimate of "acceptable sharpness" rather than a guarantee of critical sharpness; in portraiture, fine distinctions like eyelashes versus irises must still be confirmed by zooming in during playback.
…
The math from Chapter 5 can be directly verified here: at 85mm, f/1.8, and a focus distance of 2 meters, the front-to-back zone of sharpness combines to only about 6 centimeters; focus on the eyes, and having the tip of the nose and the ears fall outside the depth of field is a mathematically inevitable result.
Starting Shutter Speeds for Motion
The values below account only for subject motion, not depth of field, noise, or image stabilization. When a subject moves across the frame, is close to the camera, or is intended for large-format output, you should typically shoot one stop faster than suggested; for subjects moving directly toward the camera or situated farther away, you may be able to shoot slightly slower.
Determined by handholding stability
Still subjects do not inherently limit shutter speed; check for camera shake based on focal length, image stabilization, support, and output size.
Star Shutter Speed Calculator
Enter lens and camera body parameters, and the tool will calculate the exposure time for both the 500 Rule and the simplified NPF Rule. The 500 Rule leans optimistic, while NPF is more conservative; when in doubt, take a shot using the shorter exposure first, zoom in to inspect the star points, and then lengthen the time step by step. Chapter 11 provides a complete explanation of the assumptions and boundaries of each rule.
…
Four Steps Upon Arriving on Location
- First, define the frame: Who or what is most important? Which highlights or shadows can be let go?
- Next, determine motion: Secure the subject with shutter speed first, then decide whether you need image stabilization or a tripod.
- Then, decide on depth of field: Is the background useful information or a distraction? Choose your aperture and shooting position accordingly.
- Finally, let ISO make up the display brightness: ISO does not make the sensor collect more light; it is a gain choice after aperture and shutter speed are set.
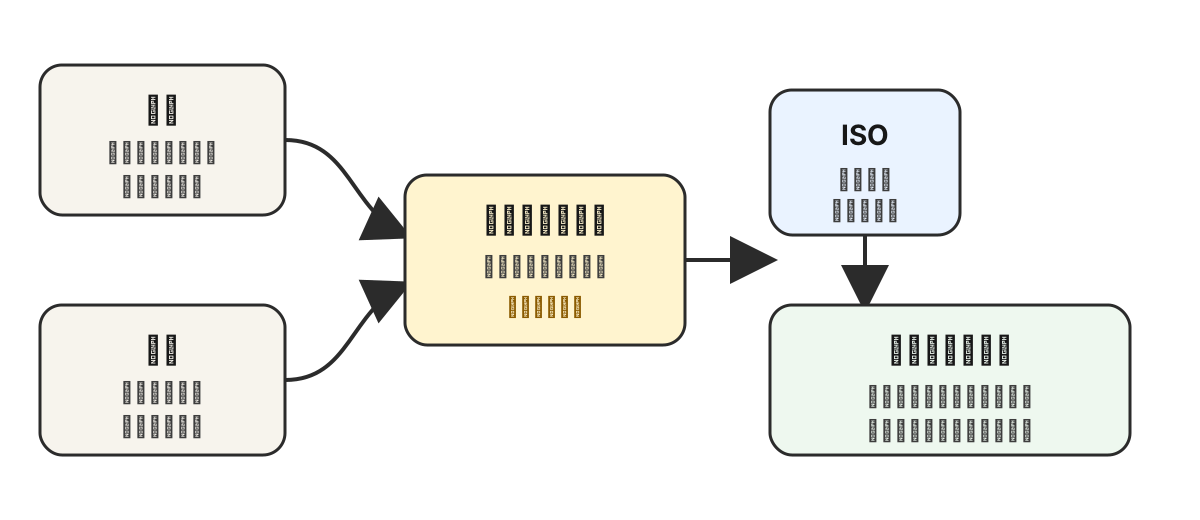
Original diagram: Aperture and shutter speed determine how much light the sensor collects; ISO primarily changes signal gain and final image brightness. Image Credits and Reuse Guidelines